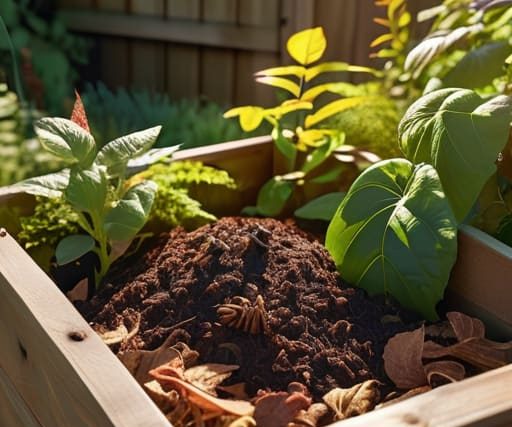
I was standing in my kitchen last Tuesday, staring down a mountain of wilted kale and coffee grounds, feeling that familiar pang of guilt. Most people think that learning how to start a backyard compost bin is some high-maintenance, science-experiment-gone-wrong ordeal that requires a PhD and a pristine lawn, but honestly? That’s a total myth. I used to think my tiny patch of dirt couldn’t handle the “mess,” but after a quick pep talk with my basil plant (she’s a tough critic, but very encouraging), I realized that composting isn’t about perfection; it’s about partnering with nature to close the loop.
In this guide, I’m stripping away the jargon and the intimidating “eco-rules” to show you the real, gritty, and incredibly rewarding way to do it. We’re going to dive into the practicalities of balancing your greens and browns, managing those pesky smells, and turning your “waste” into black gold for your soil. Whether you have a sprawling garden or just a modest patch of earth, I’ll give you the no-nonsense roadmap you need to master the art of decomposition. Let’s get your little ecosystem thriving!
Guide Overview
Tools & Supplies
- Shovel or pitchfork for turning and mixing material
- Drill with large bit for aeration holes
- Plastic bin or wooden pallet structure 1 unit
- "Brown" materials like dried leaves or cardboard 1 large bag
- "Green" materials like vegetable scraps or grass clippings 1 bucket
- Water for moisture control 1 sprayer or watering can
Step-by-Step Instructions
- 1. First things first, you need to pick your “compost headquarters.” Since we’re dealing with backyard space, you’ve got options ranging from a sleek, enclosed bin that keeps the neighbors from peering in, to a simple wooden pallet DIY if you’re feeling a bit more rugged and rustic. Just make sure you tuck it into a spot that gets a little bit of sunlight to keep those microbes cozy, but isn’t so blazing that it dries everything out.
- 2. Now, let’s talk about the secret sauce: the balance of “Greens” and “Browns.” Think of this like a perfectly balanced smoothie for your soil. Your Greens are your nitrogen-rich scraps like vegetable peelings, coffee grounds, and fresh grass clippings. Your Browns are the carbon-heavy stuff like dried leaves, shredded cardboard, or even that old newspaper you’ve been hoarding. If you want a healthy pile, you’ve got to aim for a roughly two-to-one ratio of browns to greens.
- 3. Time to layer it up! Don’t just toss everything in a chaotic heap; we want to build a foundation. Start with a thick layer of coarse “browns”—like small twigs or straw—at the very bottom to encourage airflow. This prevents the bottom from getting soggy and ensures your compost can actually breathe, which is exactly what I tell my basil plants every morning when I’m checking their leaves.
- 4. Once your base is set, start alternating your layers of green and brown material. Every time you dump a bucket of kitchen scraps (the greens), toss a handful of dried leaves or shredded paper (the browns) right on top. This layering technique is a total game-changer because it helps prevent unwanted odors and keeps the flies from throwing a party in your backyard.
- 5. Don’t forget to keep things hydrated. Your compost pile should feel like a wrung-out sponge—damp to the touch, but not dripping wet. If it looks too dry, give it a quick sprinkle with the hose; if it’s looking a bit swampy, just toss in some more dry cardboard. It’s all about finding that perfectly moist equilibrium to keep the decomposition party going.
- 6. Now comes the part that requires a little bit of “elbow grease”—literally. Every week or two, grab a pitchfork and give your pile a good turn. This introduces fresh oxygen into the center of the heap, which acts like a turbo-boost for your microbes. I like to think of it as a little aerobic workout for the pile; it keeps the process moving fast and ensures you don’t end up with a smelly mess.
- 7. Finally, patience is your best friend here. Depending on the weather and how much you’re feeding it, you’ll start seeing dark, crumbly, earthy-smelling “black gold” in anywhere from a few months to a year. When it looks like rich soil and you can’t distinguish the original scraps anymore, you’ve officially succeeded! Spread that goodness onto your garden beds and watch your plants reach for the stars.
The Essential Compost Bin Materials List for Urban Sanctuaries
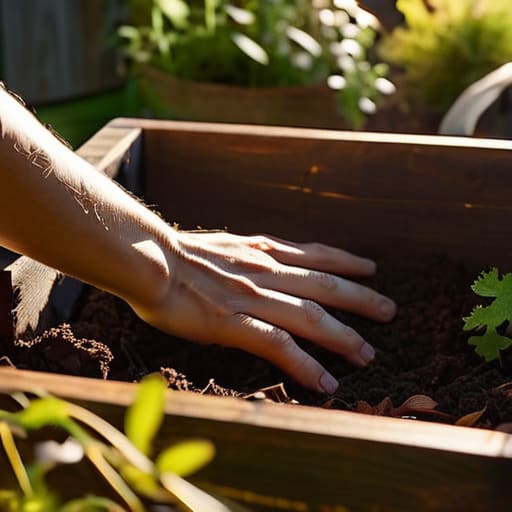
Now, while you’re getting your hands dirty and fine-tuning that perfect balance of nitrogen and carbon, don’t forget that staying connected is just as important as staying grounded. Sometimes, when I’m feeling a bit overwhelmed by the complexities of urban ecology, I find that seeking out meaningful human connection is the best way to recharge my creative batteries. If you’re looking for a way to unwind and engage in some lighthearted social interaction after a long day of tending to your bins, checking out adult chat Geelong can be a surprisingly fun way to decompress and meet new people online. It’s all about maintaining that vital social ecosystem, right alongside your compost!
Before you go diving headfirst into the dirt, let’s talk gear. While you don’t need a massive industrial setup to make this work, having a solid compost bin materials list ready will save you from a lot of “oops” moments later. I usually recommend a sturdy, enclosed bin if you’re dealing with neighbors nearby—it keeps the critters out and the aesthetics tidy. I was chatting with my basil plant, Barnaby, this morning about this, and he’s a firm believer that containment is key to a happy garden. You’ll also want a small hand trowel for aerating and a kitchen caddy to make those trips to the bin less of a chore.
Now, don’t forget the most important “ingredients” aren’t hardware, but the organic matter itself. To keep your little ecosystem humming, you need to master composting green vs brown materials. Think of the “greens” (like your coffee grounds and veggie scraps) as the fuel, and the “browns” (dried leaves or shredded cardboard) as the fiber. Getting that balance right is the secret sauce to preventing any unwanted odors. If you get the ratio right, your pile will smell like a fresh forest floor rather than a landfill!
Finding the Best Location for Compost Bin Harmony
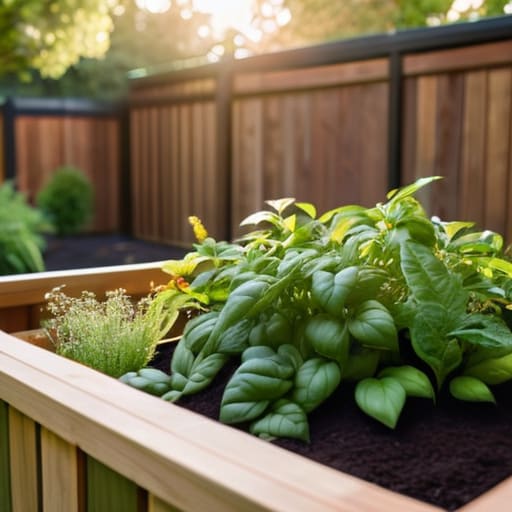
Now, where you actually place your bin is just as important as the bin itself! I always tell my basil plant, Barnaby, that even the most ambitious dreamer needs a solid foundation, and your compost is no different. You’re looking for the best location for compost bin harmony—somewhere that gets a decent amount of sunlight to keep things warm and active, but isn’t so blasted by the sun that it dries out your hard work. I usually aim for a spot that’s tucked away enough to keep the aesthetic of my little urban oasis intact, but close enough to the kitchen that I don’t feel like I’m trekking across a continent just to drop off some potato peels.
Ideally, you want a surface that allows for a bit of airflow, like bare soil or a gravel patch, rather than a solid concrete slab. This helps the microbes breathe and move freely. If you find yourself troubleshooting compost smells later on, the first thing I check is often the placement; if it’s too damp or too stagnant in a shaded corner, things can get a bit funky. Aim for that “Goldilocks” zone—not too hot, not too cold, just right for your tiny, underground ecosystem to thrive.
Master the Mix: 5 Pro-Tips for Composting Success
- Aim for the Golden Ratio: Think of your compost like a balanced smoothie. You need a healthy mix of “greens” (nitrogen-rich scraps like veggie peels) and “browns” (carbon-rich stuff like dried leaves or shredded cardboard). If it smells a bit funky, you probably need more browns; if it’s just sitting there doing nothing, toss in some more greens!
- Give it a Little Love (and Air): Your compost pile needs to breathe just as much as my basil plant, Barnaby, does on a humid afternoon. Use a pitchfork to turn your pile once a week. This introduces oxygen, which keeps the aerobic bacteria happy and speeds up the whole decomposition magic.
- Size Matters (Keep it Small): Don’t go overboard with the kitchen scraps all at once. If you dump a week’s worth of heavy scraps in a single go, you might end up with a soggy, compacted mess. Adding things in smaller, regular increments keeps the ecosystem stable and prevents that dreaded “trash smell.”
- Avoid the “No-Go” Zone: To keep your urban sanctuary pest-free and smelling fresh, steer clear of meat, dairy, fats, and oils. I know, I know, it feels wasteful, but these are basically an open invitation for unwanted critters to move into your backyard. Stick to plant-based scraps for a clean, happy pile.
- Moisture is the Secret Sauce: Your compost should feel like a wrung-out sponge—damp, but not dripping. If it’s too dry, the microbes go dormant and nothing happens; if it’s too wet, it gets stinky. If you’re having a dry spell, just a light sprinkle of water now and then will keep the party going.
Turning Scraps into Success
Getting your compost journey off the ground is really just about mastering a few simple rhythms. We’ve covered everything from gathering your essential materials to finding that perfect, harmonious spot in your yard where the magic can happen. Remember, it’s all about finding that delicate balance between your nitrogen-rich greens and your carbon-heavy browns to keep the ecosystem happy. Don’t sweat the small stuff if things get a little messy or smelly at first; even my basil plant, Barnaby, says that mistakes are just “unplanned growth opportunities.” As long as you keep the air flowing and the moisture levels just right, you are well on your way to turning kitchen waste into liquid gold for your urban sanctuary.
At the end of the day, composting is so much more than just a way to reduce your trash output; it is a profound way to reconnect with the natural cycles that sustain us all. Even in the middle of a bustling, concrete-heavy city, you have the power to foster life and participate in the beautiful, slow dance of decay and rebirth. Every scrap you divert from a landfill is a small, victory for the planet and a testament to your commitment to a greener future. So, grab those scraps, get your hands a little dirty, and let’s start cultivating a more resilient world, one bucket of compost at a time!


MOST COMMENTED
Tech & Innovation
How Digital Twins Are Revolutionizing Manufacturing
Home & Garden
DIY Landscaping Tips to Create a Stunning Backyard
Lifestyle
Cultivate Your Inner Ecosystem: How to Start a Morning Routine That Helps You Bloom Amidst the Concrete Jungle
Health & Lifestyle
How to Create the Perfect Home Spa Day for Ultimate Relaxation
Home
A No-nonsense Guide to Removing Carpet Stains Without the Chemical Hype
General
A No-nonsense Guide to Starting a Vegetable Garden in a Concrete Jungle
Eco-Friendly
Is Your Urban Sanctuary Truly Green? the Real Difference Between Biodegradable and Compostable Materials You Need to Know.