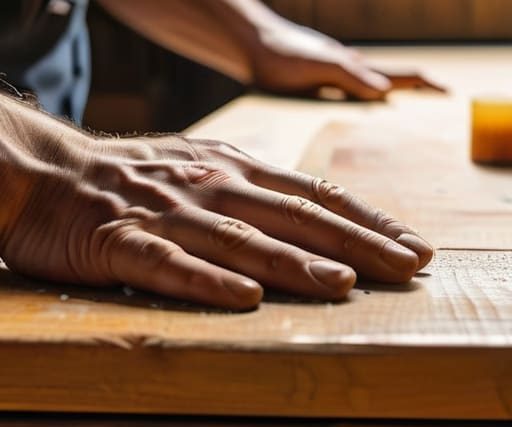
I was sitting on my balcony yesterday, mid-conversation with my slightly dramatic basil plant (who, for the record, thinks I’m being too hard on myself), when I caught sight of my old teak side table through the window. It had a nasty wobble and a deep scratch that looked like a battle scar from a previous life. My first instinct, fueled by that modern, “out with the old” consumerist itch, was to just scroll through a fast-furniture app and order something shiny and new. But then I paused. We’ve been sold this lie that broken equals disposable, but I’ve realized that learning how to repair furniture instead of replacing it is actually one of the most radical, eco-chic acts of rebellion we can perform in a concrete jungle.
In this guide, I’m stripping away the intimidating jargon and the “expert-only” gatekeeping to give you a real, hands-on roadmap. I’ll be sharing my personal, no-nonsense toolkit for tackling everything from wobbly legs to surface scuffs, ensuring your urban sanctuary feels truly lived-in and soulful. We aren’t aiming for showroom perfection here; we are aiming for resilient, storied pieces that carry a history. Let’s dive in and start breathing some new life into your space.
Guide Overview
Tools & Supplies
- Sandpaper (various grits for smoothing surfaces)
- Screwdriver (for tightening loose joints)
- Wood glue (for structural repairs)
- Soft cloth (for cleaning and applying finishes)
- Wood filler (one small container for cracks)
- Furniture wax or stain (one small tin/bottle)
- Microfiber towels (a small pack)
Step-by-Step Instructions
- 1. First things first, you need to perform a bit of a gentle diagnostic. Clear a space on your floor—maybe move your monstera, Barnaby, aside so he doesn’t get any sawdust in his leaves—and lay your piece out under good lighting. Check for loose joints, deep scratches, or that dreaded wobbly leg. Knowing exactly what’s ailing your piece is the only way to choose the right medicinal approach for its recovery.
- 2. Once you’ve identified the issue, gather your toolkit. You don’t need a massive workshop; a small, curated kit of wood glue, sandpaper (start with something coarse and move to fine), a screwdriver, and maybe some beeswax polish will do wonders. I like to think of these as my urban healing supplies, essential for bringing a tired piece of wood back to its former glory.
- 3. If you’re dealing with a wobbly chair or a loose table leg, it’s time for some structural intervention. Carefully pull the joint apart—don’t force it, or you might cause more harm than good—and scrape away any old, crusty glue. Apply a fresh layer of high-quality wood glue, reassemble the piece, and here’s the secret: use a clamp to hold it steady while it cures. It’s a bit like giving the furniture a firm, supportive hug until it feels strong again.
- 4. For those pesky surface scratches that make a tabletop look like it’s been through a battlefield, grab your sandpaper. Start with a lower grit to level out the damage, and always sand in the direction of the grain to avoid making things worse. It takes a little patience, but watching those rough edges smooth out is incredibly therapeutic, almost as much as seeing a new sprout emerge from a seed tray.
- 5. Now that the structure is sound and the surface is smooth, we need to address the aesthetics. If there are deep gouges, you can use a bit of wood filler, sanding it down once it’s dry. To finish it off, skip the harsh chemical varnishes and opt for a natural oil or a bit of beeswax. This not only protects the wood but adds a soulful glow that makes the piece feel integrated into your home rather than just another mass-produced object.
- 6. Finally, give your repaired treasure a proper homecoming. Wipe it down, place it back in its rightful spot, and maybe even add a small potted succulent on top to celebrate its rebirth. Taking the time to fix what we already own creates a deeper connection to our living spaces, turning a simple apartment into a curated collection of stories and sustainable choices.
Mastering Essential Furniture Repair Tools for Your Urban Oasis
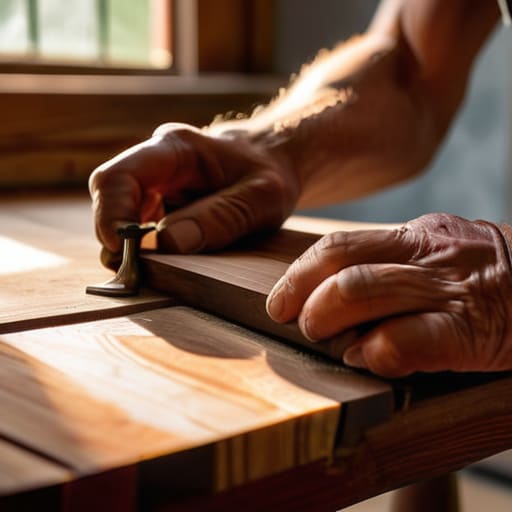
Now, if you ever find yourself staring at a particularly tricky structural issue—maybe a joint that just won’t stay tight or a seam that’s lost its integrity—don’t panic and don’t rush to the big-box store for a replacement. Sometimes, the most satisfying part of this process is simply finding that perfectly specialized solution that makes the fix feel effortless. I always tell my Monstera, Barnaby, that sometimes you just need the right support to keep growing strong, and the same goes for your beloved heirlooms; if you’re feeling a bit stuck on the technicalities, you can see for yourself how much of a difference the right approach makes in restoring that original character to your pieces.
Before you dive into the heavy lifting, let’s talk about your toolkit. You don’t need a massive, dusty workshop taking up precious square footage in your apartment; you just need a curated selection of essential furniture repair tools that actually work. I always tell my Monstera, Barnaby, that a good tool is like good compost—it’s the foundation of everything that follows. For most of my weekend projects, a high-quality sander, a versatile set of screwdrivers, and a reliable wood glue kit are my absolute go-tos. Having these on hand makes the process feel less like a chore and more like a creative ritual.
When you’re dealing with those pesky nicks and dents, mastering a few specific wood furniture restoration techniques can make all the difference between a quick fix and a professional finish. If you’re looking at fixing scratched wood surfaces, don’t panic; sometimes a simple walnut rubbed into the grain is all the magic you need. For deeper gouges, learning how to patch furniture holes with a bit of wood filler will allow you to smooth things over seamlessly. It’s all about working with the character of the piece rather than trying to erase its history.
Healing Scars Fixing Scratched Wood Surfaces and Patching Holes
We’ve all been there: a rogue move, a clumsy pet, or a misplaced coffee mug leaves a jagged souvenir on your favorite side table. It feels like the end of the world, but I promise, those marks don’t define the piece. When it comes to fixing scratched wood surfaces, I like to think of it as giving the wood a little bit of skin care. For those shallow, annoying scuffs, a simple walnut rubbed directly into the scratch can work wonders by using its natural oils to mask the damage. If the wound is deeper, you might need to dive into some more serious wood furniture restoration techniques, like using a specialized filler that matches your wood’s grain.
If you’re facing a more dramatic situation—like a literal hole from a hardware mishap—don’t panic. Learning how to patch furniture holes is a total game-changer for your DIY toolkit. I usually grab a high-quality wood putty, carefully pack it into the void, and let it settle. I actually had a long chat with my Monstera, Fern, about this yesterday; she’s a firm believer in healing from the inside out, and honestly, she’s not wrong. Just remember to sand it smooth once it’s dry to keep that seamless, urban-chic aesthetic we’re all striving for.
Pro-Tips for Keeping Your Urban Treasures Alive and Thriving
- Don’t fear the mismatch; sometimes a slightly different shade of stain or a splash of eco-friendly paint can turn a “repair” into a deliberate, soulful design choice that tells a story.
- Always test your fixes on a hidden spot first, much like I test a new organic fertilizer on my basil before committing—you want to make sure that wood filler or varnish plays nice with the original finish.
- Patience is your best tool, so resist the urge to rush the drying process; letting a finish cure fully is the difference between a temporary patch and a lasting restoration.
- Think about the structural integrity, not just the aesthetics—if a chair leg is wobbling, it’s a sign that the joints need a little love (and some non-toxic wood glue) rather than just a quick cosmetic fix.
- Keep a “repair kit” handy in your apartment so you can tackle small scuffs the moment they happen, preventing those tiny scratches from turning into deep, unfixable scars.
The Beauty of the Mended Life
As we wrap up this little journey of restoration, I hope you feel a bit more confident stepping into your toolkit. From mastering those essential repair tools to carefully healing the scars on a beloved wooden tabletop, you’ve learned that a little patience goes a long way. It isn’t just about the sanding, the staining, or the patching; it’s about the realization that repairing what we already own is a profound act of environmental stewardship. By choosing to mend rather than discard, you are actively diverting waste from landfills and honoring the craftsmanship that went into your pieces in the first place.
At the end of the day, your home shouldn’t feel like a sterile showroom; it should feel like a living, breathing ecosystem of stories. Every scratch and every well-placed patch becomes a badge of honor, a testament to a life lived intentionally and sustainably. Just like my Monstera, Barnaby, who always reminds me that growth often comes from navigating a few rough patches, your furniture gains character through its resilience. So, go ahead—grab that wood filler, give that wobbly leg a second chance, and let’s continue to build urban sanctuaries that are as soulful as they are green.



MOST COMMENTED
Health & Lifestyle
5 Fun Fitness Challenges to Help You Stay Motivated
Eco-Friendly
How to Travel Plastic-Free with These 7 Sustainable Products
Tech & Innovation
10 Must-Have Smart Wearables for 2024
General
Why the Secret to a Thriving Urban Ecosystem Lies in the Value of a Boring Weekly Review
Nature & Sustainability
How Sustainable Technology Is Revolutionizing Our Future
Tech & Innovation
Why Quantum Cryptography Is the Future of Data Security
Nature & Sustainability
Affordable Green Energy Solutions for Your Home