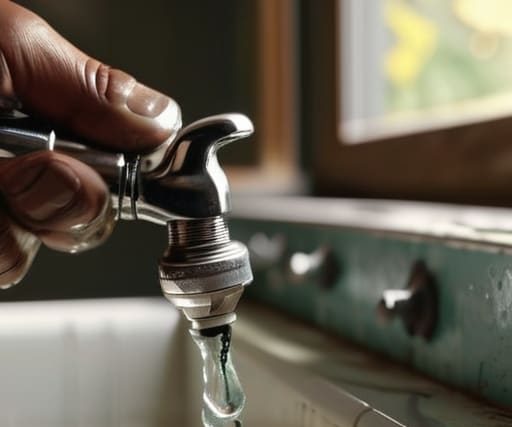
There I was, sitting on my balcony surrounded by my basil plants, trying to enjoy a quiet morning coffee, when that rhythmic drip… drip… drip… from my kitchen sink started slicing through the silence like a tiny, watery sledgehammer. It’s that universal urbanite’s nightmare: the sound of wasted resources and a mounting sense of helplessness. Most people think you need to call in an expensive professional and wait three days for an appointment, but I’m here to tell you that fixing a dripping tap without a plumber is actually one of the most empowering DIY wins you can have in a small apartment. Honestly, even my rosemary plant, which has been a bit moody lately, would tell you that you’re more capable than you think!
In this guide, I’m stripping away the jargon and the intimidation factor to give you a straightforward, no-nonsense roadmap to reclaiming your peace and your water bill. We aren’t going to dive into complex renovations; instead, I’ll walk you through the simple tools and specific steps needed to tackle the most common culprits of a leaky faucet. By the time we’re done, you’ll have mastered the art of mindful maintenance, turning a frustrating household nuisance into a quick, sustainable victory for your urban sanctuary.
Guide Overview
Tools & Supplies
- Adjustable wrench for loosening nuts
- Screwdriver (Phillips or flathead) to remove handles
- Pliers for gripping small parts
- Replacement washers (assorted pack)
- Plumber's grease (small tube)
Step-by-Step Instructions
- 1. First things first, we need to shut down the flow so we don’t accidentally turn your kitchen into a miniature water park. Locate the isolation valve under your sink—it’s usually a small lever or knob—and turn it clockwise until it stops. If you can’t find one, you’ll need to head to the main water shut-off for your unit. Once that’s done, open the tap to let any remaining water drain out; I like to tell my basil plant, Luna, that sometimes you have to empty out the old to make room for the new, and the same goes for your pipes.
- 2. Now, grab your toolkit. You won’t need a whole workshop, just an adjustable wrench, a screwdriver (likely a Phillips head), and perhaps some needle-nose pliers. Before you dive in, lay down a towel on the sink basin. This isn’t just to keep your workspace dry; it’s a crucial move to prevent any tiny screws or washers from bouncing down the drain and disappearing into the urban abyss.
- 3. It’s time to get under the hood. Use your screwdriver to gently remove the decorative cap on top of the tap handle—this is often marked with ‘H’ or ‘C’. Once that’s off, you’ll see a screw holding the handle in place. Unscrew it, lift the handle off, and you should see the internal mechanism, or the cartridge. This is where the real magic happens.
- 4. Use your adjustable wrench to unscrew the valve stem or the cartridge itself. Be careful not to use excessive force; we want to be firm but mindful, much like how I prune my tomato plants. Once the stem is out, take a close look at the bottom. You’ll likely see a small rubber washer that looks a bit flattened or cracked. That little piece of rubber is usually the culprit behind the constant drip-drip-drip that’s been haunting your peace of mind.
- 5. Head down to your local hardware store or check your junk drawer for a replacement washer. It’s vital that the new one is the exact same size and thickness as the old one, or you’ll find yourself right back where you started. While you’re at it, check the O-rings (the tiny rubber loops) for any signs of wear and tear. If they look tired, swap them out too—think of it as a little spa day for your plumbing.
- 6. Now, let’s put the pieces back together in the reverse order. Place the new washer onto the stem, screw the cartridge back into the tap body with your wrench, and replace the handle and the decorative cap. Make sure everything is snug but not overtightened. If you crank it down too hard, you might damage the new seal, and we definitely want this fix to be a long-term win for your sanctuary.
- 7. Finally, the moment of truth. Slowly turn your water supply valve back on and test the tap. Turn it on and off a few times to ensure the flow is smooth and, most importantly, that the leaking has ceased. If you see a steady stream of success, give yourself a pat on the back. You’ve just saved water, saved money, and reclaimed your zen—one small fix at a time.
Diagnosing Common Causes of Leaking Taps in Your Urban Sanctuary
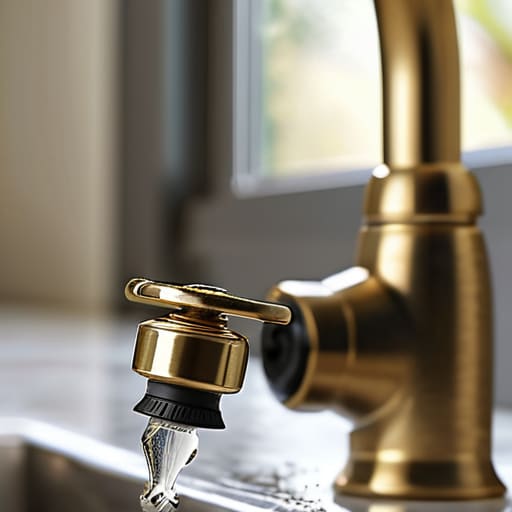
Before we dive into the actual repairs, we need to play a little detective. Think of it like checking your basil plant for aphids; you can’t fix the problem until you understand exactly what’s causing the stress. Most of the time, the culprit behind those annoying rhythmic drips is a worn-out component tucked away inside the handle. When we look at the common causes of leaking taps, it usually boils down to a degraded washer or a faulty O-ring that just can’t hold back the pressure anymore.
If you notice the leak is coming specifically from the base of the handle rather than the spout, you’re likely looking at a problem with the internal valve mechanism. Knowing how to fix a leaky faucet valve is a game-changer for any urban dweller because it saves you from that dreaded “emergency plumber” call-out fee. Sometimes, it’s as simple as a bit of mineral buildup from our city’s hard water, but more often than not, it’s a sign that a small part has simply reached the end of its lifecycle. Don’t panic, though—it’s just nature’s way of telling you it’s time for a little maintenance!
Mastering the Essential Plumbing Tools for Beginners to Repair Like a Pro
Before you dive in, let’s talk gear. You don’t need a professional contractor’s heavy-duty belt to get this done, but you do need a few reliable companions to help you stop leaking kitchen tap woes in their tracks. I always tell my Monstera, Barnaby, that preparation is half the battle—and honestly, he’s usually right. You’ll want a good adjustable wrench, a set of screwdrivers, and perhaps some needle-nose pliers. Having these essential plumbing tools for beginners neatly laid out on a towel prevents that frantic “where did I put the hex key?” moment mid-repair.
One pro-tip from my years of urban tinkering: invest in a decent quality basin wrench if you’re working with tight spaces under a sink. In these compact city apartments, room to maneuver is a luxury we rarely have. Also, don’t forget a small tub to catch any stray water; it keeps your sanctuary dry and your workspace organized. If you’re planning to replace faucet washer DIY style, having a small container to organize the tiny screws and washers is a lifesaver. It’s all about working smarter, not harder, so you can get back to your garden.
Pro-Tips for a Leak-Free Urban Sanctuary
- Turn off the water supply before you dive in; nothing kills the zen of a DIY afternoon faster than an accidental indoor fountain.
- Grab a rag to cover the drain first—it’s a small move that prevents tiny, crucial screws from making a sudden escape into the plumbing abyss.
- Don’t force it; if a bolt or valve feels like it’s putting up a fight, stop and check if you’re applying too much torque, as stripping a thread is much harder to fix than a simple drip.
- Treat your new washers and O-rings like precious seedlings; always keep a small variety pack on hand so you aren’t stuck mid-repair waiting for a delivery.
- Once you’ve finished the fix, give your tap a little celebratory pat (and maybe a quick pep talk) before testing the flow to ensure everything is seated perfectly.
Turning the Tide on Waste
Taking the time to tackle that leaky faucet might have felt a bit daunting at first, but look at what you’ve achieved! By identifying the culprit—whether it was a worn-out washer or a loose valve—and utilizing those basic tools, you’ve successfully navigated a common urban headache. You didn’t just save a few bucks by skipping the plumber; you’ve actively prevented unnecessary water wastage and kept your sanctuary running like a well-oiled machine. Remember, the key to a sustainable home is often found in these small, intentional repairs that prevent larger, more resource-heavy problems down the road. It’s all about mastering your own environment, one drip at a time.
As I was finishing up my work today, I gave my basil plant, Barnaby, a little pep talk for helping me stay focused during this project. He’s a great listener, even if he’s a bit quiet! But in all seriousness, these little victories are the building blocks of a truly conscious lifestyle. When we take responsibility for the small things in our apartments and homes, we start to see ourselves as active participants in the ecosystem rather than just passive consumers. Let this be your sign to keep seeking out those practical, eco-smart solutions. Every fix counts, and every drop saved is a win for our urban future. Keep growing, keep fixing, and keep thriving!
While you’re elbow-deep in washers and O-rings, I always find it helpful to connect with other folks who are navigating the same urban hurdles, whether it’s a tricky plumbing fix or just finding the best local compost. If you’re ever looking for some extra community vibes or just want to bounce ideas off people living a similar lifestyle, checking out the Los Angeles and San Diego chat can be a total game-changer for staying connected. Honestly, even my basil plant, Barnaby, says that a little bit of external perspective is the secret ingredient to solving any problem, no matter how small.



MOST COMMENTED
Eco-Friendly
How to Travel Plastic-Free with These 7 Sustainable Products
Tech & Innovation
10 Must-Have Smart Wearables for 2024
General
Why the Secret to a Thriving Urban Ecosystem Lies in the Value of a Boring Weekly Review
Nature & Sustainability
How Sustainable Technology Is Revolutionizing Our Future
Tech & Innovation
Why Quantum Cryptography Is the Future of Data Security
Nature & Sustainability
Affordable Green Energy Solutions for Your Home
Health & Lifestyle
How to Gain Weight the Healthy Way with These 5 Tips